Your First International Trip from Nigeria: The Complete Checklist for 2026
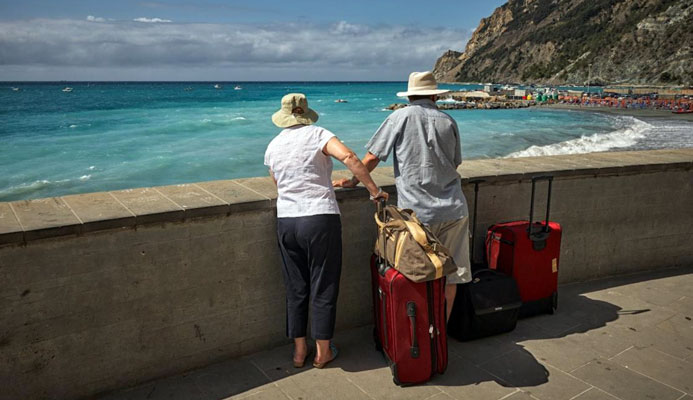
A first international trip involves dozens of small, easy-to-miss details — passport validity, visa timing, baggage allowances, currency rules — and most of them are entirely preventable with the right information in the right order. Almost nobody writes this down clearly for someone starting from Nigeria, with a Nigerian passport, using Nigerian banks, flying from Lagos or Abuja.
This guide is that information. It is not generic travel advice. It is written for someone who has never left Nigeria before and wants to know exactly what to do, in exactly what order, without missing anything important.
Step One: Your Passport
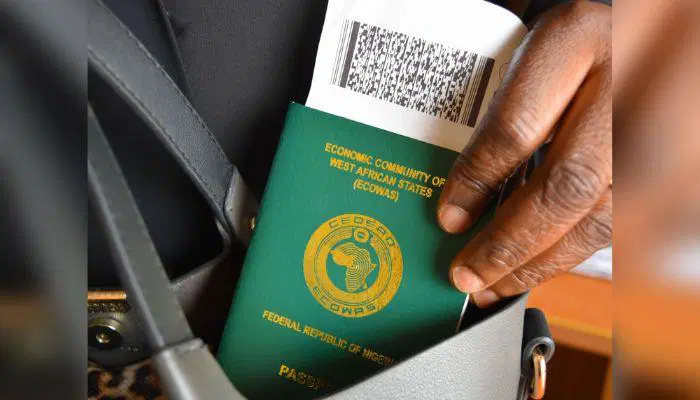
Everything starts with your passport. Not your visa. Not your flight. Your passport, because everything else depends on it existing and being valid.
If you do not have a Nigerian passport yet, apply through the Nigeria Immigration Service portal at immigration.gov.ng. The process requires your National Identification Number (NIN), a biometric enrollment appointment, and payment of the processing fee. Standard processing takes 4 to 6 weeks. Express processing is supposed to take 2 to 3 weeks but in practice timelines vary. Apply as early as possible.
If you already have a passport, check three things before you book anything else. First: when does it expire? Most countries require your passport to be valid for at least 6 months beyond your intended departure date from their country. If your passport expires in 8 months and you plan a 3-month trip, you may be refused entry because only 5 months will remain when you leave. Second: does it have enough blank pages? Most visas require at least one full blank page, and some countries require two. Third: is the information in it correct? Name, date of birth, and gender must match your other documents exactly. Any discrepancy can cause problems at check-in or immigration.
If your passport needs renewal, do not book international flights until the renewal is complete. Renewing a passport in Nigeria can take longer than expected and airlines will not let you board without a valid travel document.
Step Two: Choose Your Destination Carefully
With a Nigerian passport, your destination choice affects how much paperwork you will do before your trip. Some countries require a visa applied for in advance. Some offer a visa on arrival (you pay at the airport on entry). Some are fully visa-free for Nigerian citizens. A small number have restrictions that make entry difficult regardless of documentation.
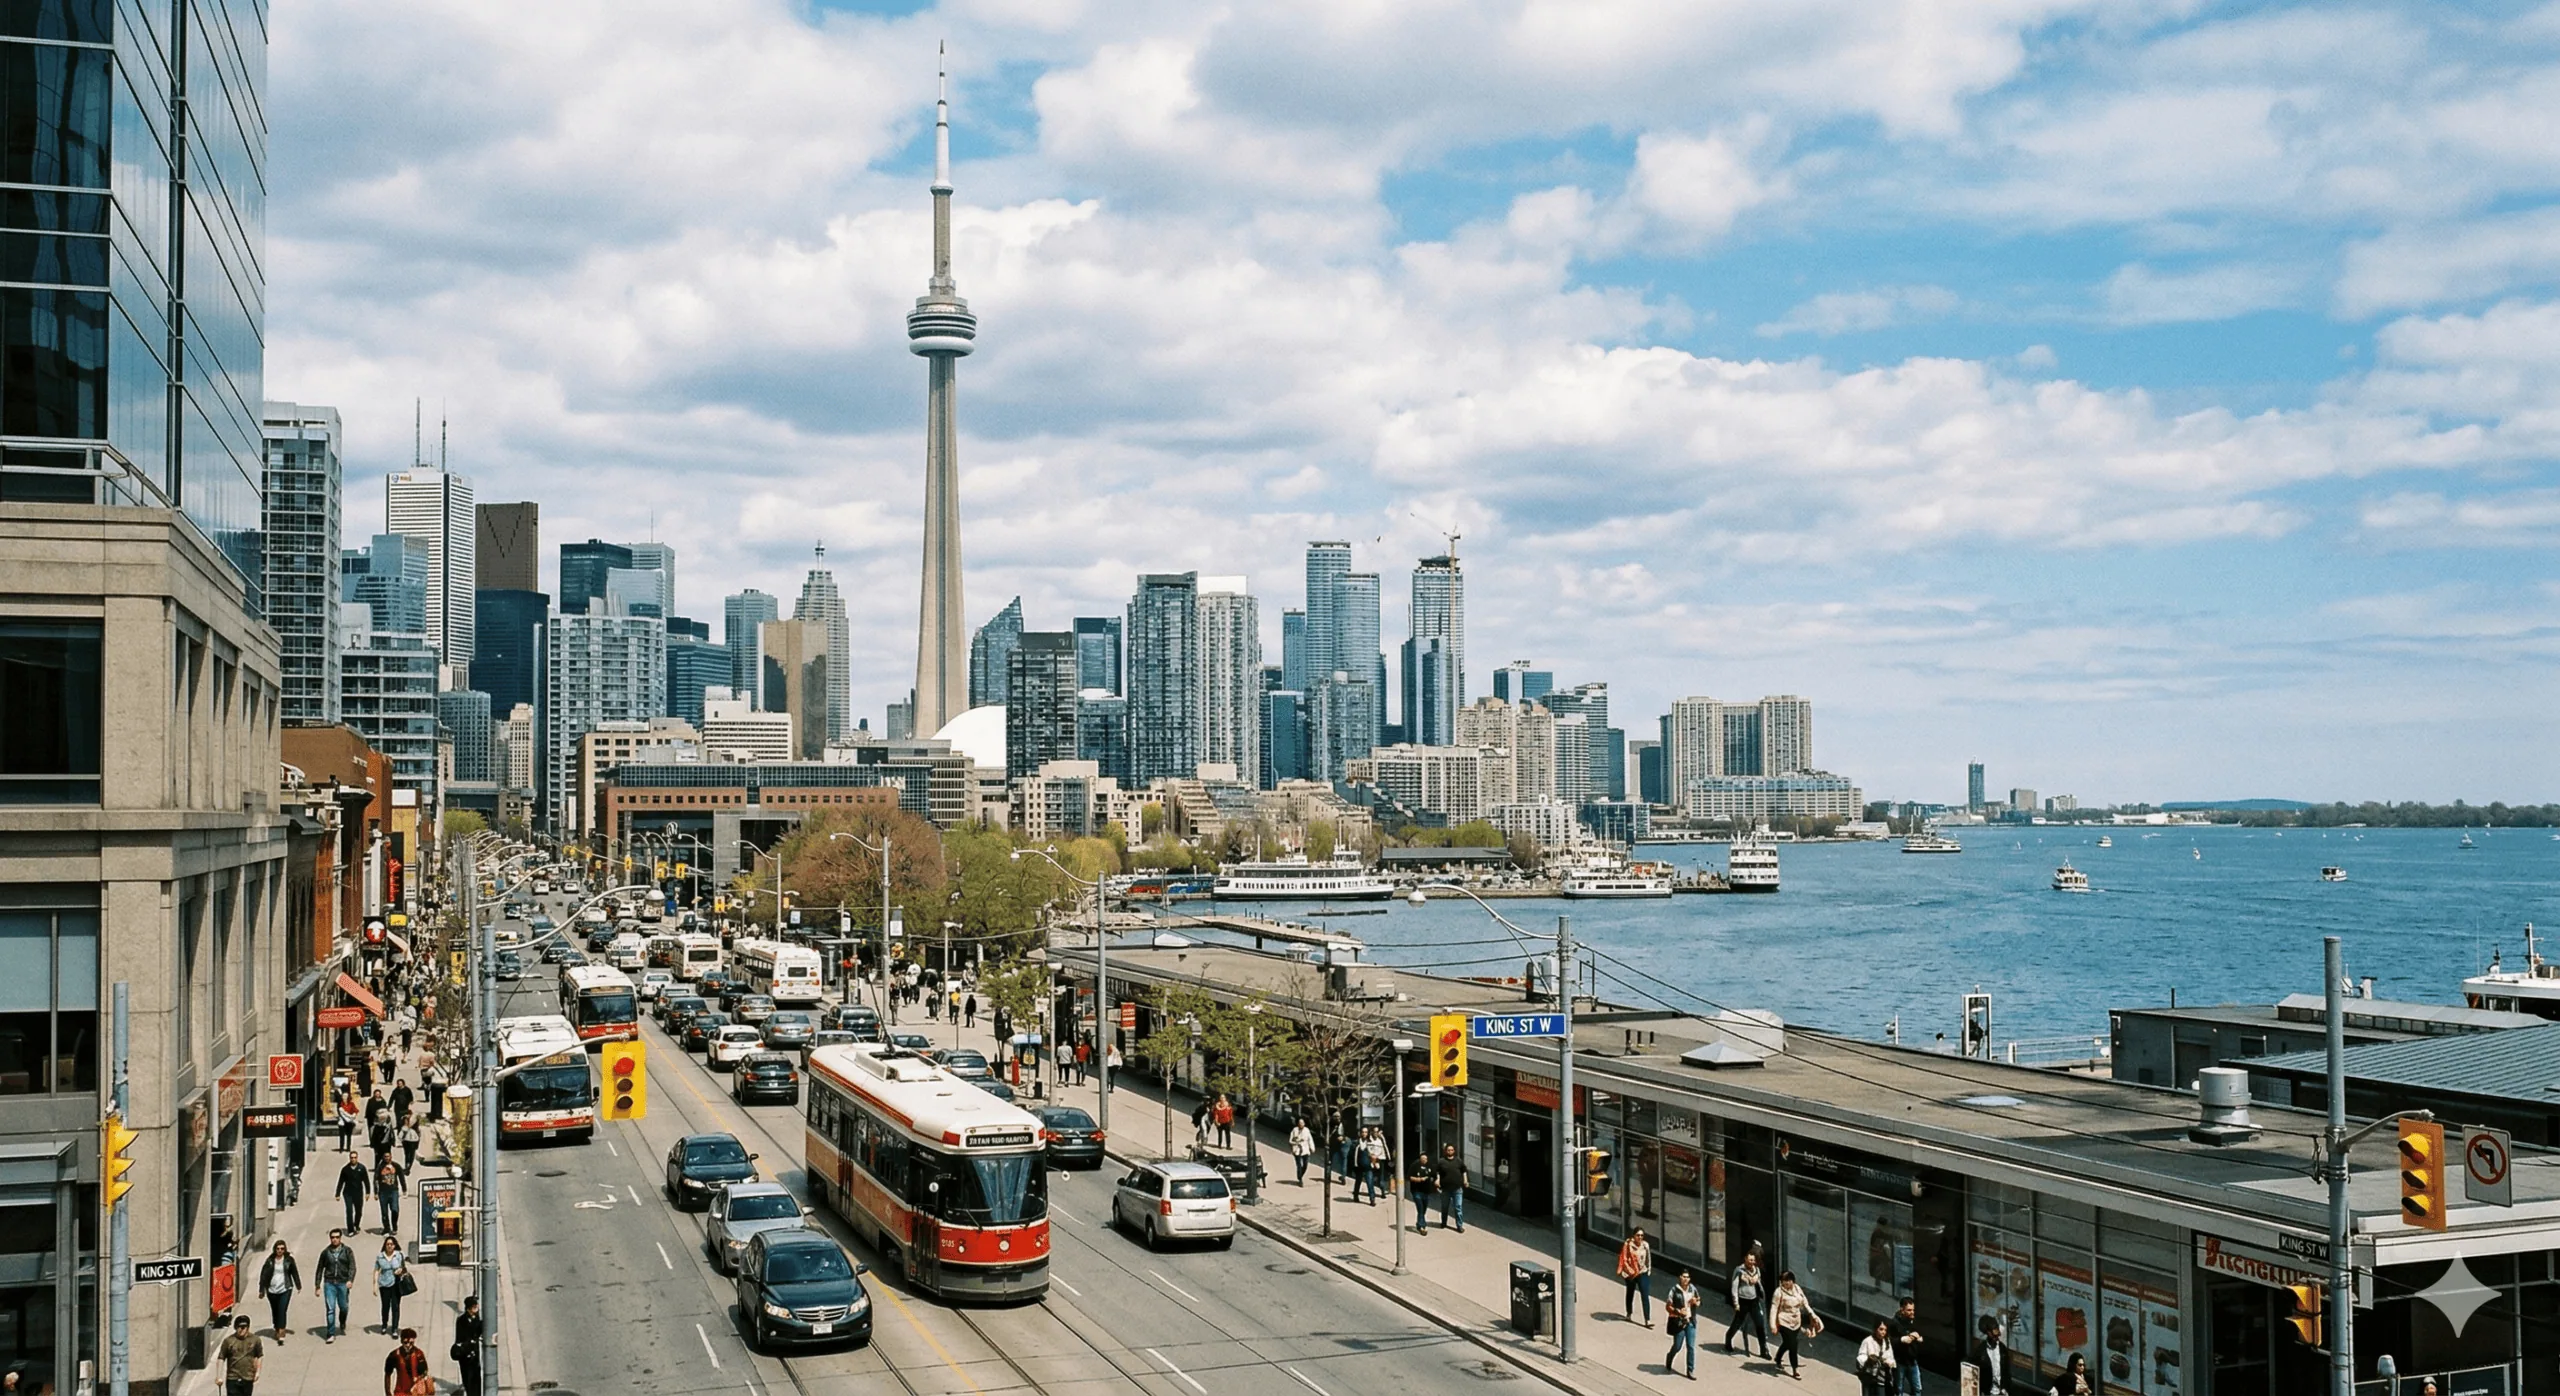
For a first trip, the simplest destinations are ones where Nigerians can enter visa-free or visa-on-arrival. These include Ghana, Kenya, Rwanda, Barbados, Jamaica, Malaysia, and Turkey (e-visa, easy process). Destinations requiring advance visa applications like the UK, Schengen countries, Canada, and the US are very worth visiting but require more preparation time and documentation. They are not the right starting point if you are trying to take a trip in the next 4 to 6 weeks.
See our full guide to countries Nigerians can visit without advance visas at litexplore.com/countries-visa-on-arrival-nigerian-passport-2026.
Step Three: Apply for Your Visa (If Required)
If your destination requires an advance visa, start this process before you book your flights. Not after. If the visa is refused, you do not want to have paid for non-refundable flights.
The general rule for most advance visas: apply 6 to 8 weeks before your intended travel date. Some visas take as few as 5 to 10 business days. Some take 4 to 6 weeks or longer. Starting early gives you time to gather documents, correct mistakes, and still travel on schedule if there is any delay in processing.
For every visa application, the core documents you will need are your passport, bank statements for the last 3 to 6 months, proof of employment or business (letter from employer, payslips, or CAC registration), proof of accommodation in the destination country (hotel booking or invitation letter), return flight itinerary (booked but ideally refundable until the visa is confirmed), and a cover letter explaining the purpose of your visit and when you intend to return to Nigeria.
Do not deposit large sums of money into your bank account shortly before applying. Visa officers see this as a red flag. They want to see consistent income and savings over time, not a sudden deposit that appeared two weeks before the application.
Step Four: Book Your Flight
Once you have your passport and either have your visa or are confident about getting one, book your flights. The general rules for getting reasonable prices from Nigeria:
Book 6 to 8 weeks in advance for the best combination of price and seat availability. Much earlier than that and you may be booking before promotional fares are released. Much later and prices rise sharply as seats fill.
Use Google Flights to research prices first. Enter your route and set up a price alert so you are notified when fares drop. Check different departure dates using the date grid view, which shows you a full month of prices at once and makes it easy to spot cheaper travel days.
Luggage allowance is not the same on every airline. Read the specific terms for your ticket before you assume anything. Economy tickets on budget carriers often include hand luggage only. International tickets on major carriers typically include 23kg of checked baggage. Confirm before you pack.
Step Five: Sort Your Money
This section is where most first-time international travelers from Nigeria run into problems, because the Nigerian banking system and foreign card acceptance interact in ways that are not always obvious.
A standard naira debit card will not work in most foreign countries. The dollar or foreign currency limits on naira cards are restrictive, and many international merchants and ATMs do not accept them. You need a plan for money before you leave Nigeria.
The most reliable options for accessing money abroad in 2026:
Domiciliary account with a foreign currency card: Open a dollar or euro domiciliary account at GTBank, Zenith, Access, First Bank, or UBA. Load it before your trip. The card works at international ATMs and most point-of-sale terminals abroad. This is the most reliable option for carrying significant travel funds.
Wise multi-currency account: Wise (formerly TransferWise) offers a multi-currency account that holds and spends in 50+ currencies at mid-market exchange rates with minimal fees. You can load naira into Wise from a Nigerian bank account and convert to dollars, euros, or dirhams before or during your trip. The Wise card works at international ATMs and shops. Setup requires a few days for verification. Do this a week before your trip at the minimum.
Cash in foreign currency: Buy dollars, euros, or the currency of your destination from a bureau de change or your bank before you travel. Compare rates between your bank and reputable bureau de change operators as rates vary meaningfully. Always carry some cash as a backup regardless of what cards you have, because some destinations, markets, and transport systems are cash-only.
The question of how much to take depends on your destination and trip length. As a baseline, bring enough cash to cover your first two days of expenses plus one emergency (a taxi to a hospital, a missed connection, an unplanned night in a hotel). Do not rely exclusively on ATMs abroad, as cards can be blocked, machines can be out of service, and some destinations have very limited ATM coverage.
Notify your bank that you are traveling before you leave. Many Nigerian banks will block international transactions as a fraud precaution if they see charges from a foreign country without advance notice. A quick call or a message through your banking app prevents your card from being frozen mid-trip.
Step Six: Get Travel Insurance
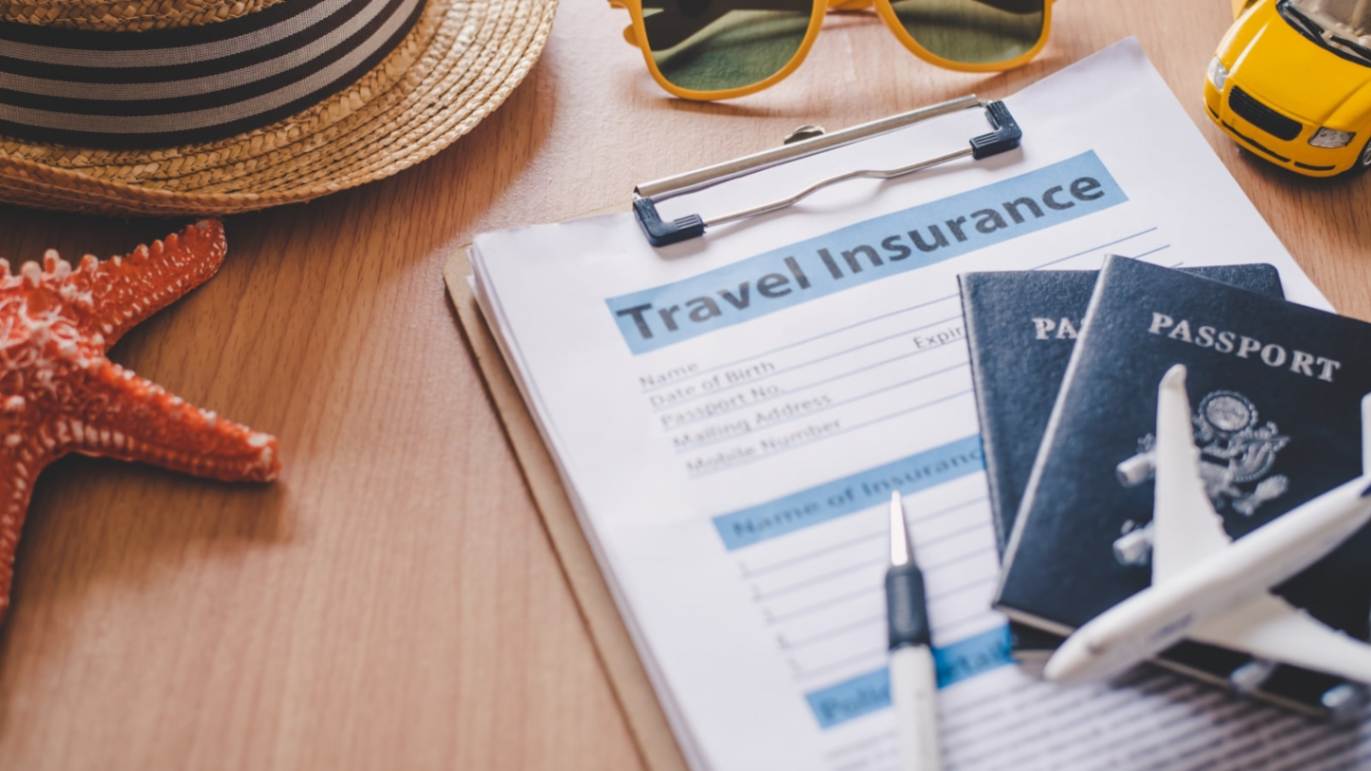
Travel insurance is not optional for international travel. It feels like a cost you can skip until the moment you need it and do not have it.
The minimum coverage you need: emergency medical coverage of at least $50,000 (many Schengen visa applications require a minimum of 30,000 euros of medical coverage), emergency medical evacuation, trip cancellation, and baggage loss. A basic comprehensive policy for a week-long trip costs $20 to $60 depending on destination and coverage level.
Some visa applications, particularly Schengen visas, require proof of travel insurance as part of the application. Buy the insurance before you submit the visa application in these cases.
Buy insurance that covers medical evacuation back to Nigeria specifically. Being treated at a local hospital abroad is covered by standard medical insurance. Being flown home while sick is a separate and very expensive benefit that standard policies do not always include. Confirm it is in your policy.
Step Seven: Accommodation
Book your accommodation before you travel. Showing up at immigration without a confirmed place to stay is a common reason travelers from Nigeria are questioned or delayed at border control in many countries. Immigration officers in several countries ask for your accommodation address as a routine part of entry processing.
The booking does not need to be non-refundable. A confirmed reservation that shows your name, the property name and address, and your check-in and check-out dates is sufficient for immigration purposes. Make sure the dates match your visa validity and your flight ticket.
For first trips, hotels are simpler than Airbnb. Hotels have front desks that can help if something goes wrong, consistent check-in procedures, and usually better locations relative to public transport. Airbnb works well once you are more familiar with navigating international travel independently.
Step Eight: Prepare Your Documents
Before you leave, organize all your travel documents in one place and make digital copies of everything. The documents you need at various points in your trip:
At airport check-in: Passport, flight tickets (app or printed), visa (if required), any supporting documentation your airline requires.
At immigration in your destination country: Passport, completed arrival/immigration card (distributed on the plane or available at the immigration hall), visa, return ticket, accommodation address and confirmation, and sometimes proof of sufficient funds (bank statement or cash).
Throughout your trip: Travel insurance policy documents with the emergency contact number. Accommodation confirmations for each stay. Any pre-booked activity confirmations.
Make copies of your passport's photo page, your visa, your flight tickets, and your insurance policy. Email them to yourself and save them to cloud storage so you can access them if your phone or bag is lost. A paper copy kept separately from the originals is also worth doing.
At the Airport in Nigeria
Arrive at the airport at least 3 hours before an international flight. Lagos Murtala Muhammed International Airport and Abuja Nnamdi Azikiwe International Airport both have check-in processes that take longer than airports in many other countries, particularly during busy periods. Three hours gives you time to check in, clear security, pass through immigration, and reach your gate without stress.
Departure tax is paid as part of your ticket price on international flights from Nigeria. You do not pay it separately at the airport.
Nigeria's departure immigration requires you to show your passport, ticket, and completed Embarkation card. Embarkation cards are usually distributed at the check-in desk or available at the immigration hall. Fill yours out completely and accurately before joining the immigration queue.
Useful to know: The departure hall at Lagos airport has a bureau de change where you can exchange leftover naira for foreign currency before your flight. The rates are not competitive but it is better than arriving abroad with nothing. Exchange the bulk of your money before you get to the airport and use the airport exchange only as a last resort.
Arriving in a Foreign Country: What to Expect
The first experience of arriving internationally is an immigration queue. Stay calm, have your documents ready, and answer questions honestly. Immigration officers at most destinations ask a version of the same questions: why are you visiting, how long are you staying, where are you staying, do you have enough money for your trip, and when are you returning to Nigeria.
You do not need to justify your visit or apologize for traveling. Answer clearly and directly. Do not volunteer extra information beyond what is asked. If you are asked for proof of funds, show your bank statement or the cash you are carrying.
After immigration, collect your checked bags from the baggage claim carousel. Your boarding pass or bag tags will show which carousel your flight's luggage is on. If your bag does not appear after all other bags from your flight have been collected, report to the airline's baggage desk in the arrivals hall before leaving the airport.
After customs, you are in the country. Get your SIM card or activate your eSIM if you have not already, find the transport option you planned for getting to your accommodation, and check into your hotel before doing anything else. Unpacking and orienting yourself on day one, before sightseeing, is the decision that makes the rest of the trip less chaotic.
The Complete Pre-Departure Checklist
Use this to confirm you have everything covered before you leave Nigeria:
Passport and Documents: Passport valid for at least 6 months beyond your return date, visa obtained and valid for travel dates, flight tickets confirmed (check airline name, route, dates, times), accommodation booked with confirmation document, travel insurance purchased with policy document saved.
Money: Foreign currency obtained or domiciliary card loaded, Wise or similar card set up if using it, bank notified of travel dates and destination, emergency cash reserve carried separately from main wallet.
Health: Any required vaccinations for your destination received (Yellow fever certificate required for many countries, check specific requirements), sufficient prescription medications packed in hand luggage with copy of prescription, travel health insurance confirmed.
Packing: Checked bag within weight limit (weigh it before you leave home), hand luggage within airline size and weight restrictions, liquids in hand luggage comply with the 100ml rule in individual containers in one clear bag, adapters for destination's plug type packed.
Communication: SIM card plan or eSIM for destination arranged, important contact numbers saved offline (accommodation, airline, insurance emergency line, one person in Nigeria who knows your itinerary), Google Maps area downloaded for offline use.
Copies: Digital copies of all documents emailed to yourself, paper copies of passport and visa kept separately from originals.
One Thing That Makes the Biggest Difference
More than any individual item on that checklist, the thing that most separates calm first-time international travelers from anxious ones is time. Every problem I have seen people have at airports and immigration in fifteen years of watching travelers comes down to leaving things too late. The bag that is overweight because there was no time to repack it. The visa that is not yet approved because it was submitted two weeks before the trip. The bank card that is blocked because nobody called ahead.
Start earlier than you think you need to. Apply for the visa six weeks before you want to travel, not two weeks. Sort the foreign currency two weeks before departure, not the night before. Buy the insurance when you book the flights, not three days before. Every problem that feels like bad luck on a first trip is usually a timing problem that could have been solved with more runway.
The trip itself is almost always better than the preparation for it. Once you are through the airport and at your destination, most of what you worried about stops mattering. But a smooth start makes everything that follows feel easier.
Understanding Airport Security: What to Expect
Nobody talks you through what actually happens at airport security on a first trip, and the result is that people hold up queues because they did not know to take their laptop out of their bag, or because they wore a belt they now cannot get off quickly.
At Nigerian international airports, the security process before check-in involves an initial scan of your luggage. After check-in and bag drop, you pass through departure immigration and then security screening before reaching the gate. The sequence is: check-in, pay airport departure fees if applicable, immigration, security screening, gate. Know this order before you arrive so you do not spend time looking for a check-in desk after you have already cleared immigration.
At the security screening point, you will place your carry-on bag through an X-ray machine. Remove your laptop from its bag and place it in a separate tray. Remove your belt and any large metal items and place them in the tray. Remove shoes in some airports, though this is not universal across all African airports. If you are unsure, watch what the people ahead of you are doing. Walk through the body scanner when directed. Collect everything and repack on the other side before moving.
Liquids in carry-on bags must be in containers of 100ml or less, all contained within a single transparent resealable plastic bag of roughly 20cm by 20cm. Full-size bottles of shampoo, water, or sunscreen do not go through security in your hand luggage. Pack them in your checked bag or buy them on the other side. The one exception is medication, which you should carry in hand luggage with the original prescription label and a doctor's note if quantities exceed the standard liquids rule.
On the Plane: What to Do and What Not to Do
Long international flights are tiring, and how you manage them affects how you feel on arrival. A few things that matter more than people realize until they have done a long-haul flight in the wrong way:
Drink water consistently throughout the flight. Aircraft cabin air is very dry and dehydration happens faster than it does on the ground without you noticing. The headache and fatigue you feel after a long flight is often primarily dehydration. Accept every water or juice offered by the cabin crew and ask for more between rounds.
Move around every two to three hours on flights longer than six hours. Get up, walk to the back of the plane, stretch your legs, and sit back down. Long periods of sitting in a cramped position with legs immobile significantly increase the risk of deep vein thrombosis on long-haul flights, a blood clot in the leg that is dangerous and preventable. Compression socks, available at any pharmacy, are worth wearing on flights over eight hours.
Set your watch or phone to the destination timezone as soon as you board. Start thinking in that timezone rather than Lagos time. If it is 9 PM at your destination when you board a night flight, try to sleep on the plane. If it is 10 AM at your destination when you land, try to stay awake until local evening. This is the simplest and most effective way to reduce jet lag.
Fill out your arrival immigration card on the plane. These are usually distributed by cabin crew during the flight or available in a rack near the immigration hall at arrival. Your passport number, flight number, date of birth, purpose of visit, and destination address are the standard fields. Have your accommodation address ready on your phone so you can fill it in accurately without guessing.
Common Mistakes That Are Easily Avoided
After years of travel and helping many friends and readers plan their first trips, these are the mistakes I see most often. None of them are large problems in isolation. But they are all preventable with a small amount of advance knowledge.
Packing too much. Almost every first-time traveler packs more than they need and either pays excess baggage fees at the airport or struggles with a bag that is physically difficult to manage. The test is not whether everything fits in the bag. The test is whether you can carry the bag comfortably for 20 minutes through an airport or up several flights of stairs. If you cannot, remove things. You can buy almost anything you forget in any destination you are likely to visit.
Bringing the wrong plug adapter. Nigeria uses Type D and G outlets at 220V. Many countries use different plug types. Check the outlet type for your destination and buy the right adapter before you leave. A universal travel adapter that covers multiple outlet types costs about 3,000 to 6,000 naira in Nigerian electronics shops. Do not wait to buy one in the destination airport, where they cost significantly more.
Not confirming visa requirements for every transit country. If your flight connects through another country, even for 2 to 3 hours, you may need a transit visa for that country. Many travelers discover this problem at check-in rather than during planning. Check the visa requirements not just for your final destination but for every country your plane lands in, even if you do not leave the transit area of the airport. An airside transit (staying within the international departure area without passing through immigration) often does not require a visa, but a landside transit (going through immigration into the transit country) usually does. Confirm which type of transit your connection involves.
Not downloading offline maps. Google Maps works without internet connection if you download the area in advance. Before you leave Nigeria, open Google Maps, search for the city you are visiting, and download the map for offline use. This costs nothing and means you can navigate from the airport to your accommodation even without a working data connection. The difference between having offline maps and not having them when you land in an unfamiliar city late at night is significant.
Assuming card payments work everywhere. Even in cities with modern payment infrastructure, many small businesses, markets, street food vendors, and local transport systems are cash-only. Always have some local currency on you, not just cards. The first opportunity to get local currency at a reasonable rate is usually an ATM inside or just outside the airport arrivals hall, before you get into a taxi or transport to your accommodation.
Your First 24 Hours in the Destination
The first day of any international trip is the most disorienting and the one where tiredness and unfamiliarity combine to create small problems. Keeping the first day simple reduces the chance that something minor becomes a major stress.
Check into your accommodation first, before doing anything else. Put your bags down, orient yourself to the room, figure out the Wi-Fi, charge your phone, and take 20 minutes to regroup before going anywhere. The sightseeing does not start on day one. It starts when you are settled.
Walk around the immediate neighborhood before going further. Find the nearest food option, the nearest convenience store or supermarket, and the nearest transport connection. Understanding the block you are staying on is more practically useful than an overview of the whole city on day one.
Eat something and drink water. Travel disrupts eating schedules and long flights are dehydrating. A meal and a liter of water within two hours of arriving will noticeably improve how you feel and how clearly you think for the rest of the day.
Go to bed when it is nighttime at your destination, not when you are tired according to Lagos time. One night of deliberate adjustment to the local sleep schedule does more for jet lag recovery than anything else. If you arrive in the afternoon local time and cannot stay awake, take a short nap of no more than 90 minutes, then push through until local evening bedtime. By day two, your body will have largely adjusted.